


DIY Paper Lantern Chandelier

What's up, people? Shall we start with a question today? So here's the question for you. What do your eyes look for first at a party or any event for that matter? For us, it's the decoration! It is hard to look away from the beautiful colors, lights, flowers, and more. That is until the delicious food is brought in, of course!
Today, we thought of talking a little about party decorations. We have seen balloons, centerpieces, banners, garlands, and danglers. But there's one more item that has been an upcoming trend. Can you guess what it is?
Lighten Up Your Party!
You guessed it right, my party freaks, it is lanterns! Paper lanterns are the perfect way to perk up any event space. They're a hot trend that is here to stay! And I've seen so many fun and different ways to use them. You can use lanterns with lighting for a backyard party, dress up a dessert table or food station, turn them into paper flower vases, etc. We almost forgot you could hang them in clusters like a chandelier! So, we found a do-it-yourself paper lantern chandelier idea.
What we love about this DIY Paper Lantern Chandelier is that it adds height and dimension to your overall tablescape design while bringing pops of color to the room. Paper lantern chandeliers work best in a venue where you can hang them from ceiling beams or exposed ductwork. What if you don't have ceiling beams or exposed ductwork? If your space doesn't have these features, see if you can install screw hooks above your tables to make hanging simple.
We don't want to make you wait further. Here's how to create your own paper lantern chandeliers! Trust us when we say you can do it with your hands behind your back! It is definitely not rocket science?
What You Need To Have:
- Fishing line
- Scissors
- Paper lanterns in various sizes and color
Our paper lanterns come in 12 different colors. They are Red, blue, pink, orange, beige, purple, green, yellow, black, white, silver, and gold. You can get these paper lanterns in small, medium, and large sizes.
It is time for a Smarty Tip: I chose 16" lanterns in bold, bright hues that matched my color scheme and 8" and 12" lanterns in neutral or earth tones to complement.
Now that you have all the necessary materials, let's get started on the chandelier, shall we?
Directions:
Step one: Measure the length from the ceiling (or the point from which you're hanging your lanterns) to the table. Then subtract three to four feet from this length to ensure the chandelier doesn't obstruct your guests' view or touch their heads. Cut a piece of fishing line to this length and tie it to the metal frame inside the lantern that will hang closest to the table. I recommend using an 8" or 12" paper lantern. The 16" lantern is a bit too large for the base of the arrangement.
Step two: Tie lengths of fishing line to the 16" lanterns and add those to the arrangement at varying heights to build bulk. You can add more or fewer lanterns to the chandelier according to your preference. The more you add, and the closer together they are, the wider the chandelier will be.
Step three: Tie lengths of fishing line to the 8" and 12" lanterns and hang them at varying heights to fill in the arrangement and create the look you want. And you are done. It was pretty easy, right?
Want to add a twist of personal touch to your paper lantern? Don't worry. We got you!
Customizing Your Paper Lantern
Here are some ways you add your touch. You can attach flowers to the lantern. You can also decorate the paper lantern with strings of pearls, ribbons, or even faux leaves, butterflies, etc. You can stick pretty doilies onto the paper lantern too! And who is even stopping you from painting on these lanterns? Put your inner artist to work and paint something symbolic to you! Do you love a ruffled look? Have you got crêpe paper? Then it's time to put them into use. Make strips from the crêpe paper. Then use glue on them to make them stick to the lantern. Make the ruffles as you go. You can also use crêpe paper to cut shapes and stick them onto the lantern. The possibilities are endless, after all!
Do you love the pop of color but looking for something else? If you are looking for a magical look, why don't you try paper lantern clouds? We recommend using white paper lanterns for this.
Here's what you are going to need:
- Paper lantern
- Wool batting (Pillow batting)
- Glue (we recommend hot glue, you need this to stick the wool batting onto the paper lantern. Fabric adhesive will work too)
- Fishing line
Follow the below directions to have your cloud! This method is best if you can use a light bulb with a lantern!
Directions:
Step one - Measure the correct length of the fishing line. Remember that you don't want the decoration to get in the guests' way. Then tie it to the metal frame inside the lantern that will hang closest to the table. I recommend using an 8" or 12" paper lantern or any medium-sized lantern.
Step two - Apply glue onto the wool batting and stick it onto the paper lantern. Continue until you have entirely covered the lantern. Then, you can push the pillow batting with a wooden rod.
Step three - Place suitable lighting inside the paper lantern to make it glow. And you are looking at a cloud lantern!
Share your chandelier photos with us, Smarties. We would love to see them!
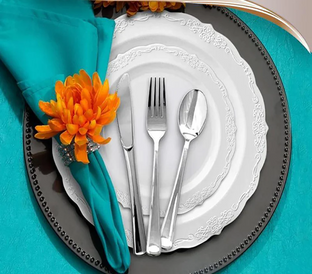
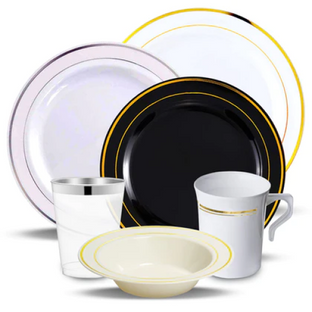
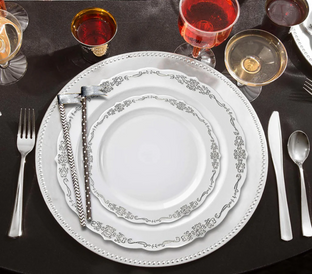
Featured products:
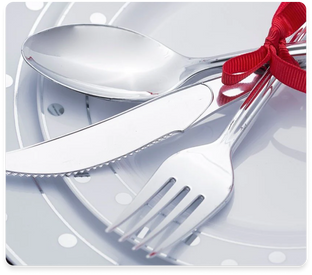
- Geometric White Silver Plastic Dinner Plates Radiance Flatware
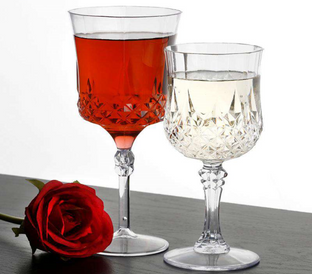
- 8 oz Plastic Wine Goblets
- 9 oz Clear Fluted Plastic Rocks Glasses
- Acrylic Clear Ice Crystals
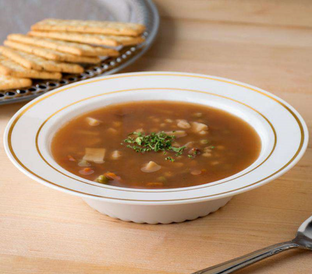
- Platinum White Plastic Dessert Bowls
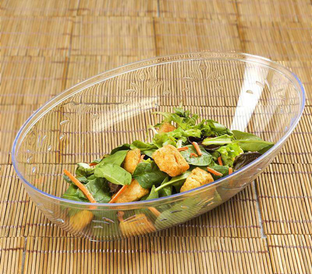
- 40 oz Clear Footed Pedestal Bowl
- 120" Round Satin Teal Green Tablecloth
- 16" Pink and 16" Turquoise Paper Lanterns
- 12" Chocolate and 12" Ivory Paper Lanterns
- 8" Green and 8" White Paper Lanterns
For more DIY Party Projects check out our board on Pinterest!
Party on Smarties! With Love, Smarty Had A Party!


